Have you ever found yourself torn between two classic desserts? I certainly have, especially when it comes to the silky smoothness of cheesecake and the crackling caramelized top of a perfect crème brûlée. After years of experimenting in my kitchen, I’ve created what I consider the ultimate fusion dessert: Mini Crème Brûlée Cheesecakes. These individual-sized treats combine the best of both worlds – the rich, creamy texture of cheesecake with that irresistible caramelized sugar topping that makes crème brûlée so special.
These little gems are perfect for dinner parties, special occasions, or anytime you want to impress without spending hours in the kitchen. What I love most about this recipe is how it transforms two traditionally complicated desserts into approachable mini treats that look stunning but are surprisingly simple to prepare.
Why These Mini Cheesecakes Will Become Your New Favorite
Before we dive into the recipe, let me share why these mini crème brûlée cheesecakes deserve a spot in your dessert rotation:
- Perfect Portion Control: Each mini cheesecake is an individual serving, eliminating the need to slice a full-sized cheesecake.
- Impressive Presentation: The golden caramelized tops make these look professionally made with minimal effort.
- Make-Ahead Friendly: Prepare them up to two days in advance and torch the tops just before serving.
- Customizable: The base recipe can be adapted with different flavor variations (I’ll share my favorites below).
- No Water Bath Required: Unlike traditional cheesecakes, these minis don’t need the fussy water bath method.
Now, let’s get to the delicious details!
Essential Ingredients
The beauty of this recipe lies in its simple but high-quality ingredients. Here’s what you’ll need:
For the Graham Cracker Crust:
- 1½ cups graham cracker crumbs (about 12 full sheets, finely crushed)
- 3 tablespoons granulated sugar
- 6 tablespoons unsalted butter, melted
- Pinch of salt
For the Cheesecake Filling:
- 16 ounces cream cheese, softened to room temperature
- ⅔ cup granulated sugar
- 2 large eggs, at room temperature
- ¼ cup sour cream, at room temperature
- 1 tablespoon all-purpose flour
- 2 teaspoons pure vanilla extract or 1 vanilla bean, seeds scraped
- Zest of one lemon (optional but adds brightness)
For the Crème Brûlée Topping:
- ¼ cup granulated sugar (for caramelizing)
- 2-3 tablespoons turbinado or demerara sugar (provides better caramelization)
Essential Equipment
One of the reasons I love this recipe is that it doesn’t require specialized baking equipment, but a few tools will make the process smoother:
- Standard 12-cup muffin tin
- Paper or foil cupcake liners
- Electric mixer (stand or handheld)
- Kitchen torch (essential for the caramelized topping)
- Small food processor (optional, for making graham cracker crumbs)
- Measuring cups and spoons
- Mixing bowls
- Cooling rack
If you don’t have a kitchen torch, don’t worry! I’ll share an alternative method using your oven’s broiler, though the torch method does produce the most consistent results.
Step-by-Step Preparation
I’ve broken down the process into manageable steps to ensure your mini crème brûlée cheesecakes turn out perfectly every time.
Preparing the Crust:
- Preheat your oven to 325°F (165°C) and line a standard 12-cup muffin tin with paper or foil liners.
- In a medium bowl, combine the graham cracker crumbs, sugar, melted butter, and salt. Mix until the mixture resembles wet sand.
- Divide the mixture evenly among the muffin cups (about 1 tablespoon per cup) and press firmly into the bottom using the back of a measuring spoon.
- Bake the crusts for 5 minutes, then remove from the oven and allow to cool while preparing the filling. Keep the oven on.
Making the Cheesecake Filling:
- In a large bowl, beat the softened cream cheese with an electric mixer on medium speed until completely smooth and free of lumps, about 2 minutes.
- Add the sugar and beat for another 1-2 minutes until well incorporated and slightly fluffy.
- Add the eggs one at a time, beating well after each addition and scraping down the sides of the bowl as needed.
- Mix in the sour cream, flour, vanilla extract, and lemon zest (if using) until just combined. Avoid overmixing, which can introduce too much air into the batter.
- Divide the filling evenly among the muffin cups, filling each about ¾ full.
Baking the Cheesecakes:
- Bake the cheesecakes at 325°F (165°C) for 20-22 minutes, or until the centers are almost set but still slightly jiggly.
- Turn off the oven, crack the door open slightly, and allow the cheesecakes to cool in the oven for 30 minutes. This gradual cooling helps prevent cracking.
- Remove from the oven and cool completely at room temperature, then refrigerate for at least 3 hours or overnight.
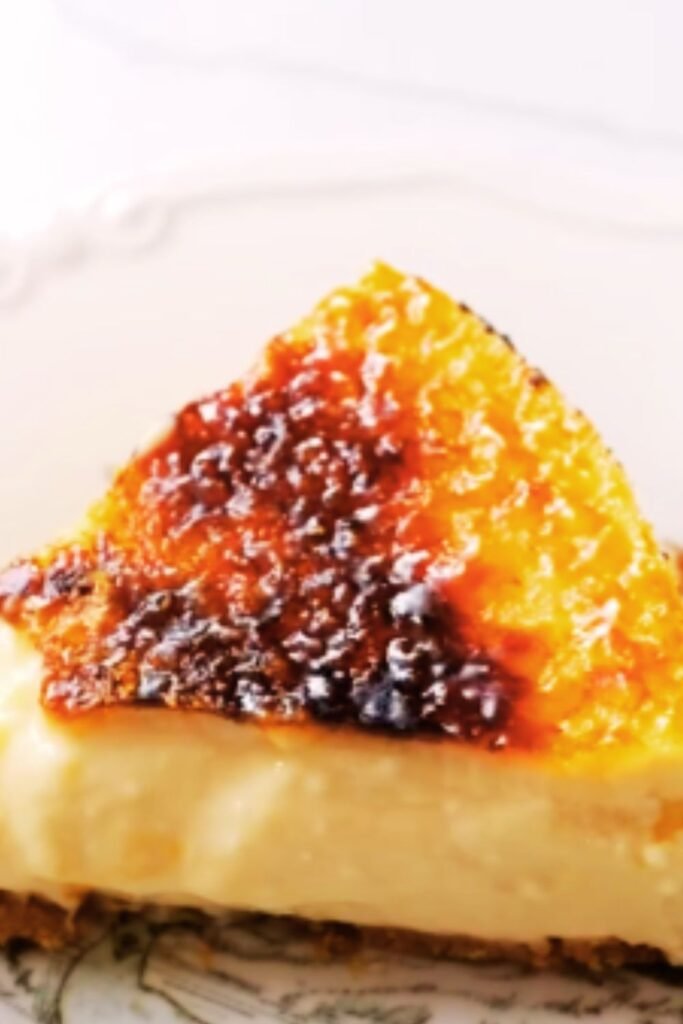
Creating the Crème Brûlée Topping:
This is where the magic happens! Follow these steps carefully for that perfect crackling top:
- Once the cheesecakes are thoroughly chilled, remove them from the refrigerator and carefully peel off the liners.
- Place the cheesecakes on a heat-resistant surface.
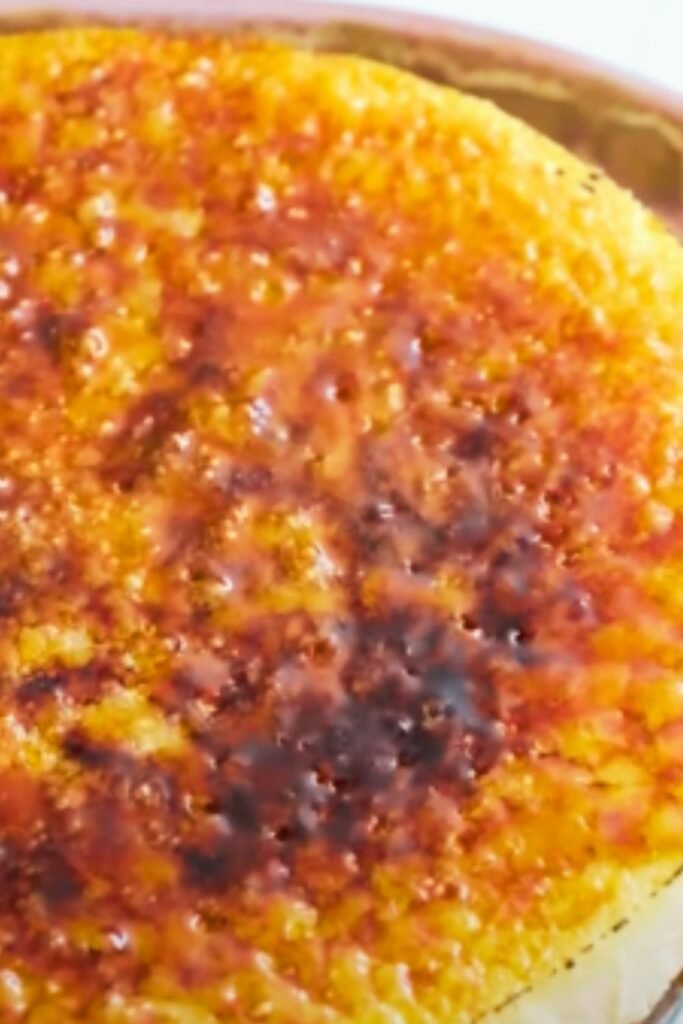
- Sprinkle each cheesecake with about 1 teaspoon of granulated sugar, followed by ½ teaspoon of turbinado or demerara sugar. The combination provides the perfect caramelization.
- Hold a kitchen torch about 2 inches from the surface and move it continuously over the sugar in circular motions until it melts and caramelizes to a golden amber color.
- Let the caramelized sugar cool and harden for about 2 minutes before serving.
Broiler Method Alternative: If you don’t have a kitchen torch, place the sugar-topped cheesecakes on a baking sheet and position them about 4 inches below your oven’s broiler. Watch very carefully and rotate as needed until the sugar caramelizes, about 1-2 minutes. Be warned: this method requires vigilance as they can burn quickly!
Expert Tips for Perfect Mini Crème Brûlée Cheesecakes
After making these countless times for family gatherings and dinner parties, I’ve gathered some valuable insights that make all the difference:
- Room Temperature Ingredients: This cannot be emphasized enough! Cold cream cheese will result in a lumpy batter. Set your dairy ingredients out at least 1-2 hours before beginning.
- Don’t Overmix: Once you add the eggs, mix just until incorporated. Overmixing introduces too much air, which can cause the cheesecakes to puff up, then collapse and crack.
- Proper Cooling: The gradual cooling process is crucial for preventing cracks. Don’t rush this step.
- Sugar Quantity for Brûlée Topping: A thin, even layer of sugar creates the best crackling crust. Too much sugar will result in a bitter, burnt taste.
- Torch Technique: Keep the flame moving continuously to avoid burning the sugar in one spot.
- Timing is Everything: For the best texture contrast, caramelize the sugar just before serving. The longer the caramelized top sits, the more it will soften from the moisture in the cheesecake.
Troubleshooting Common Issues
Even experienced bakers encounter challenges occasionally. Here are solutions to common problems:
| Issue | Possible Cause | Solution |
|---|---|---|
| Cracked cheesecakes | Overmixing or cooling too quickly | Mix just until ingredients are combined; follow the gradual cooling process |
| Soggy crust | Not pre-baking the crust or using too much butter | Ensure you pre-bake the crust for 5 minutes; measure butter precisely |
| Lumpy filling | Cold ingredients or insufficient mixing of cream cheese | Use room temperature ingredients; beat cream cheese until completely smooth before adding other ingredients |
| Sugar won’t caramelize properly | Too much moisture on the surface or old sugar | Blot the tops gently with a paper towel before applying sugar; use fresh sugar |
| Burnt sugar topping | Torch held too close or in one spot too long | Keep torch about 2 inches away and moving constantly |
| Cheesecakes stick to liners | Removing liners while cheesecakes are warm | Ensure cheesecakes are thoroughly chilled before removing liners |
Delicious Variations to Try
Once you’ve mastered the basic recipe, get creative with these delightful variations:
Chocolate Lover’s Version:
- Add 4 ounces of melted and cooled semi-sweet chocolate to the cheesecake batter
- Use chocolate graham crackers for the crust
- Garnish with chocolate shavings after caramelizing the top
Citrus Infusion:
- Add 1 tablespoon of orange, lime, or lemon zest to the batter
- Include 1-2 tablespoons of the corresponding juice
- Garnish with a small slice of the fruit after caramelizing
Coffee Caramel:
- Add 1 tablespoon of espresso powder dissolved in 1 teaspoon of hot water to the batter
- Use brown sugar instead of granulated for the crust
- Drizzle with a small amount of caramel sauce before serving
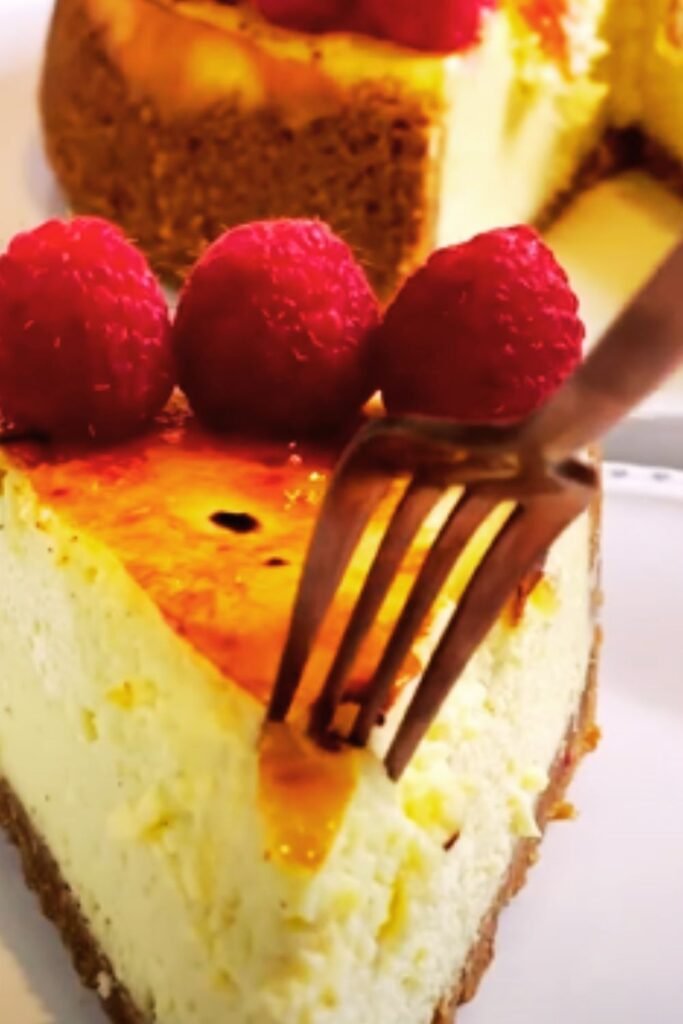
Seasonal Berry:
- Swirl 2-3 tablespoons of berry purée (strained to remove seeds) into the batter before baking
- Garnish with fresh berries alongside the caramelized top
Make-Ahead and Storage Information
One of the aspects I appreciate most about this dessert is its convenience for entertaining:
Make-Ahead Options:
- Crust: Can be prepared and pre-baked up to 2 days ahead, stored covered at room temperature.
- Baked Cheesecakes: Can be baked up to 3 days ahead and stored in an airtight container in the refrigerator.
- Complete Assembly: For best results, caramelize the sugar topping no more than 2 hours before serving.
Storage Guidelines:
- Refrigerator: Store leftover cheesecakes (even with caramelized tops) in an airtight container for up to 3 days. Note that the caramelized topping will soften over time.
- Freezer: Untopped cheesecakes can be frozen for up to 1 month. Wrap individually in plastic wrap, then aluminum foil, and place in a freezer bag. Thaw overnight in the refrigerator and apply the sugar topping just before serving.
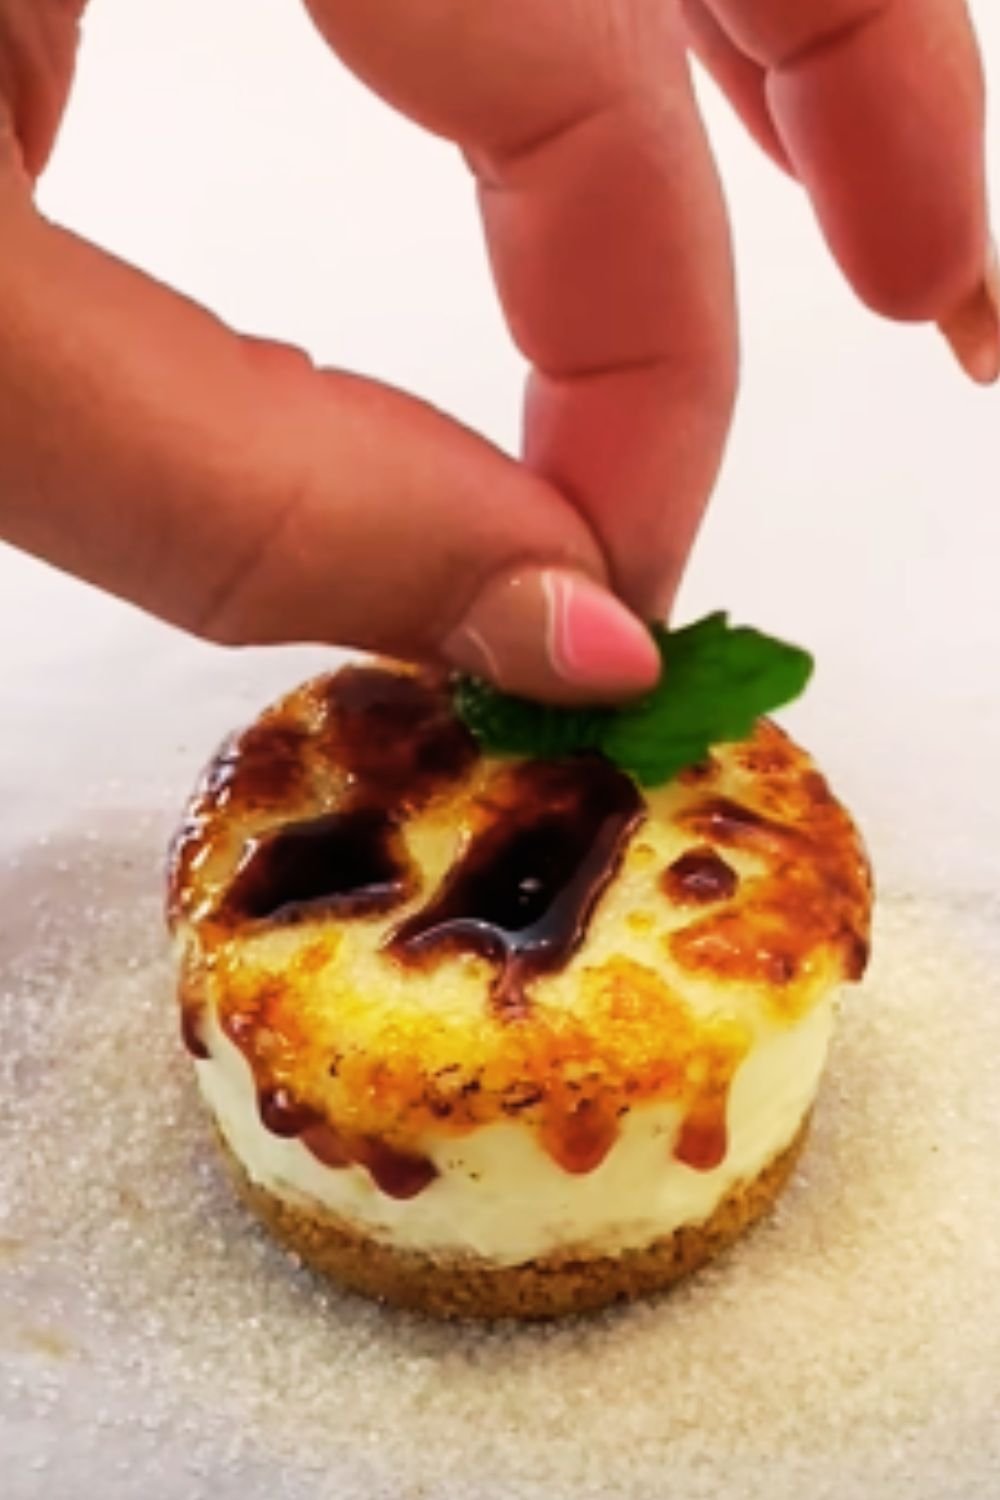
Perfect Serving Suggestions
To elevate these mini crème brûlée cheesecakes to restaurant-quality status, consider these serving ideas:
- Place each mini cheesecake on a small dessert plate with a dollop of lightly sweetened whipped cream.
- Add a few fresh berries or a small berry compote on the side.
- Dust the plate with a small amount of powdered sugar for visual appeal.
- Offer a small drizzle of chocolate sauce, caramel, or fruit coulis around the plate.
- Serve with a demitasse of espresso or a small glass of dessert tea.
- For special occasions, add a small edible gold leaf flake to the caramelized tops.
Nutritional Information
While this is definitely an indulgent dessert, it’s helpful to know what you’re enjoying:
| Nutrient | Amount per Mini Cheesecake |
|---|---|
| Calories | Approximately 320 |
| Total Fat | 22g |
| Saturated Fat | 13g |
| Cholesterol | 105mg |
| Sodium | 230mg |
| Total Carbohydrates | 28g |
| Dietary Fiber | <1g |
| Sugars | 22g |
| Protein | 5g |
Note: These values are estimates and may vary based on specific ingredients and brands used.
Frequently Asked Questions
After sharing this recipe with friends and family, here are the questions I’m most commonly asked:
Q: Can I make these in a mini cheesecake pan with removable bottoms instead of a muffin tin?
Absolutely! If you have a specialized mini cheesecake pan, you can definitely use it. The baking time may need to be adjusted by 1-2 minutes, so watch them closely.
Q: Is there a way to make these without a kitchen torch?
Yes, you can use your oven’s broiler setting. Place the sugar-topped cheesecakes 4 inches below the broiler and watch very carefully until the sugar caramelizes, usually 1-2 minutes. Rotate the pan as needed for even browning.
Q: Can I substitute Greek yogurt for the sour cream?
Yes! Full-fat Greek yogurt makes an excellent substitute for sour cream in this recipe with virtually no noticeable difference in the final result.
Q: My cheesecakes cracked on top. Can I still apply the sugar topping?
Absolutely. Minor cracks won’t affect the flavor, and the caramelized sugar topping will actually help conceal them. For severely cracked cheesecakes, you might want to add a thin layer of sour cream topping (mix 1 cup sour cream with 2 tablespoons sugar and 1 teaspoon vanilla) and bake for 5 minutes at 350°F before cooling and applying the brûlée topping.
Q: Can I make these gluten-free?
Yes! Substitute gluten-free graham crackers or cookies for the crust and replace the 1 tablespoon of flour with cornstarch or a gluten-free flour blend.
Q: How far in advance can I caramelize the sugar topping?
For the best texture contrast, I recommend caramelizing the sugar no more than 2 hours before serving. The longer it sits, the more the moisture from the cheesecake will soften the crisp topping.
Q: Can I use a different type of cookie for the crust?
Absolutely! Vanilla wafers, gingersnaps, shortbread, or chocolate cookies all make excellent alternatives to graham crackers. Just make sure they’re finely crushed and use the same proportions.
My Personal Journey with This Recipe
I first created these mini crème brûlée cheesecakes for a friend’s birthday celebration when I couldn’t decide between making her favorite cheesecake or crème brûlée. The experiment was such a hit that the recipe has become my signature dessert, requested for nearly every gathering I attend.
What I’ve come to appreciate most about this recipe is its versatility and reliability. Even when I’m short on time or cooking in an unfamiliar kitchen, these little desserts turn out beautifully and never fail to impress. The moment when guests crack through that caramelized sugar top into the creamy cheesecake beneath is pure culinary magic.
Over the years, I’ve refined the technique and proportions to create what I believe is the perfect balance of flavors and textures. The slight tang of the cream cheese against the caramelized sweetness of the brûléed top creates a complexity that belies the relative simplicity of preparation.
Whether you’re an experienced baker or just beginning your culinary journey, I hope these mini crème brûlée cheesecakes bring as much joy to your table as they have to mine.
Final Thoughts
Creating these mini crème brûlée cheesecakes isn’t just about following a recipe—it’s about crafting a memorable experience. The anticipation as you crack through that perfectly caramelized top, the first creamy bite of cheesecake, and the satisfaction of having created something both beautiful and delicious—these are the moments that make baking so rewarding.
Don’t be intimidated by the multiple steps or techniques involved. Take your time, follow the instructions carefully, and don’t be afraid to make the recipe your own with different flavors and presentation styles. The best dishes come from cooks who add their personal touch.
I’d love to hear about your experience making these mini desserts and any creative variations you develop. Happy baking!

