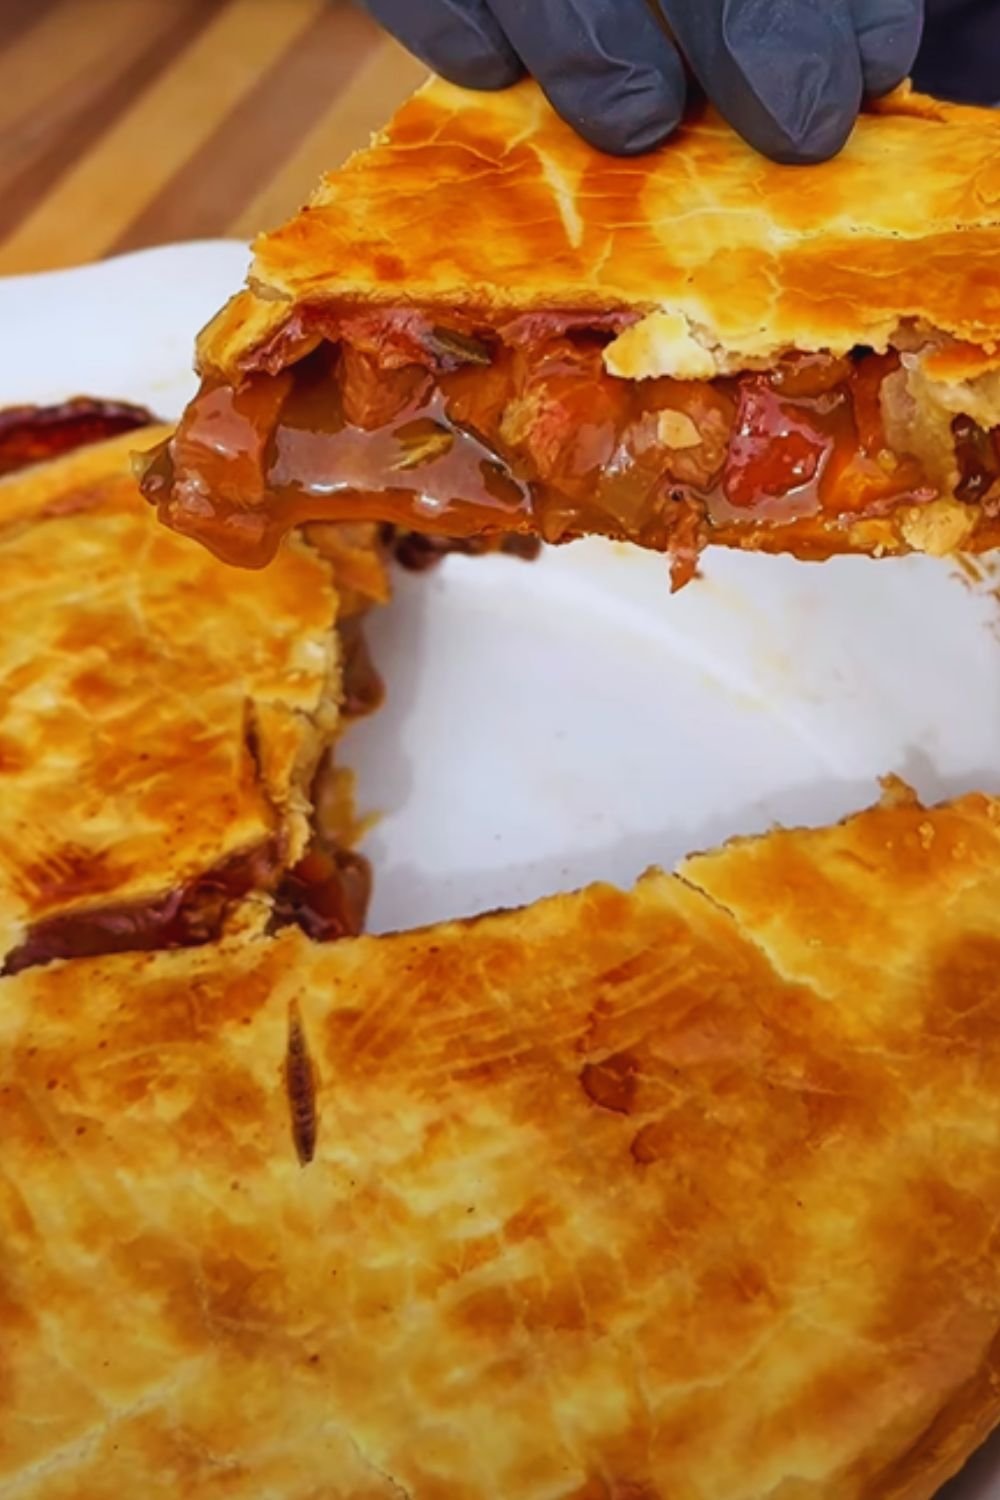
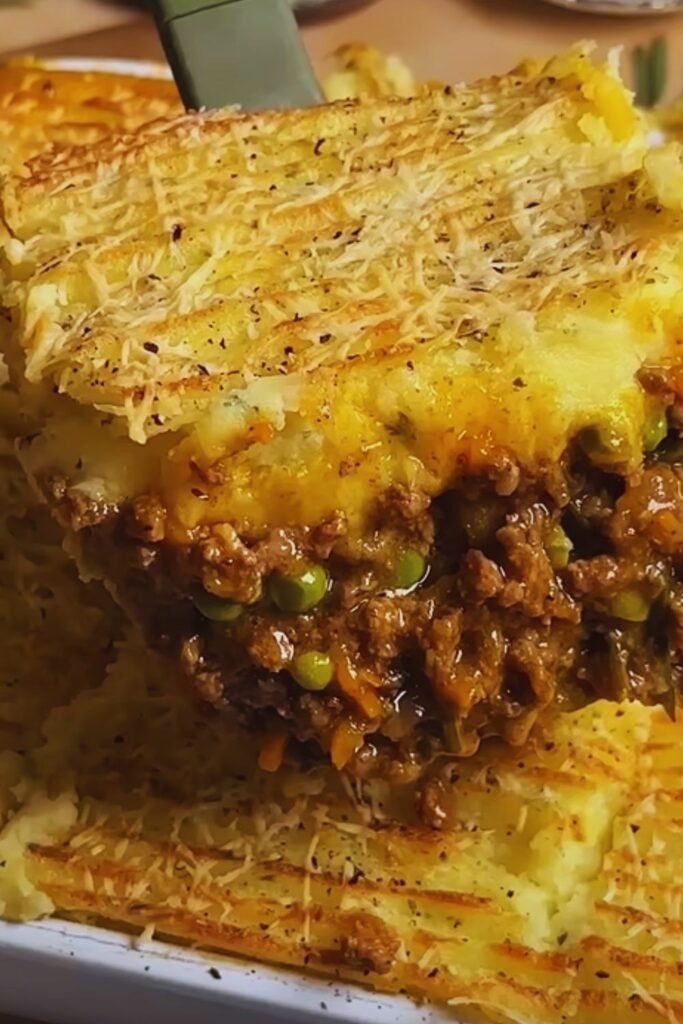
There’s something magical about lifting the lid off a perfectly baked steak pie. That moment when the steam rises and the aroma of tender beef, rich gravy, and buttery pastry fills your kitchen – it’s pure comfort food heaven. Today, I’m sharing my take on a classic British steak pie recipe that’s guaranteed to become your new favorite weekend project.
The Secret Behind a Perfect Steak Pie
Before we dive into the recipe, let me share why this particular steak pie stands out. The magic lies in the slow-cooked filling, where chunks of beef simmer until they’re melt-in-your-mouth tender, combined with a perfectly crispy, golden-brown pastry that adds just the right amount of crunch. It’s the ultimate combination of textures and flavors that makes this dish truly special.
Ingredients
For the Filling:
- 1 kg chuck steak, cut into 2.5cm chunks
- 3 large onions, finely chopped
- 3 carrots, diced
- 2 celery stalks, finely chopped
- 4 garlic cloves, minced
- 500ml beef stock
- 250ml Worcestershire sauce
- 2 tablespoons tomato paste
- 3 sprigs fresh thyme
- 2 bay leaves
- Salt and freshly ground black pepper
- 3 tablespoons vegetable oil
- 30g all-purpose flour
For the Pastry:
- 500g all-purpose flour
- 250g cold butter, cubed
- 1 teaspoon salt
- 120ml ice-cold water
- 1 egg, beaten (for egg wash)
Essential Equipment
| Item | Purpose |
|---|---|
| Large Dutch oven | For slow-cooking the filling |
| 23cm pie dish | Perfect size for this recipe |
| Rolling pin | For pastry preparation |
| Sharp knife | For meat trimming and vegetable prep |
| Pastry brush | For applying egg wash |
| Kitchen thermometer | To check meat temperature |
| Wooden spoon | For stirring filling |
Step-by-Step Method
Preparing the Filling
- Season the beef chunks generously with salt and pepper, then dust with flour.
- Heat oil in your Dutch oven over medium-high heat until shimmering.
- Brown the meat in batches (about 3-4 minutes per side) until golden brown. Don’t overcrowd the pan – this is crucial for proper browning.
- Remove meat and set aside.
- In the same pot, add onions, carrots, and celery. Cook until softened (8-10 minutes).
- Add garlic and cook for another minute until fragrant.
- Return meat to the pot, add stock, Worcestershire sauce, tomato paste, thyme, and bay leaves.
- Bring to a simmer, cover, and cook for 2.5 hours or until meat is fork-tender.
Making the Pastry
- Mix flour and salt in a large bowl.
- Add cold butter cubes and rub them into the flour using your fingertips until the mixture resembles breadcrumbs.
- Gradually add ice-cold water, mixing until the dough comes together.
- Wrap in plastic and chill for at least 1 hour.
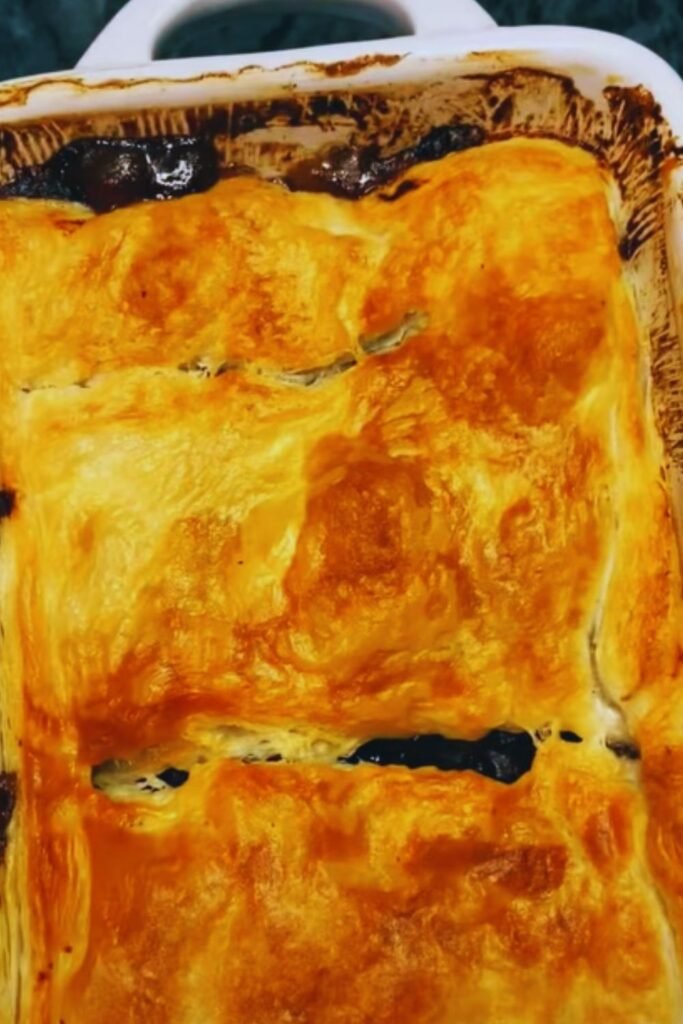
Assembly and Baking
- Preheat oven to 200°C (400°F).
- Roll out 2/3 of the pastry and line your pie dish.
- Fill with the cooled meat mixture.
- Roll out remaining pastry for the lid.
- Brush edges with beaten egg, place lid on top, and crimp edges to seal.
- Cut a few steam vents in the top and brush with egg wash.
- Bake for 45-50 minutes until golden brown.
Pro Tips for Success
- Always let your filling cool completely before adding it to the pastry
- Keep your pastry ingredients cold for the flakiest result
- Don’t skip the resting time for the dough
- Season generously throughout the cooking process
- Make extra filling and freeze it for future pies
Troubleshooting Common Issues
| Problem | Cause | Solution |
|---|---|---|
| Soggy bottom | Hot filling | Cool filling completely before assembly |
| Tough pastry | Overworked dough | Handle minimally, don’t overmix |
| Dry filling | Too much heat | Maintain gentle simmer, check liquid levels |
| Pale crust | Insufficient egg wash | Apply two layers of egg wash |
| Filling too runny | Not enough reduction | Simmer uncovered to reduce if needed |
Serving Suggestions
- Creamy mashed potatoes
- Steamed seasonal vegetables
- Mushy peas
- Rich onion gravy
- Roasted root vegetables
Storage and Reheating
Store any leftover pie in an airtight container in the refrigerator for up to 3 days. To reheat, cover with foil and warm in a 160°C (320°F) oven for 20-25 minutes until heated through.
Nutritional Information
| Nutrient | Amount per Serving |
|---|---|
| Calories | 650 |
| Protein | 35g |
| Carbohydrates | 48g |
| Fat | 38g |
| Fiber | 4g |
| Sodium | 780mg |
Based on 8 servings per pie
Questions & Answers
Q: Can I make this pie ahead of time?
A: Yes! You can make the filling up to 3 days in advance and keep it refrigerated. The pastry can be made 24 hours ahead. Assemble and bake when ready to serve.
Q: What’s the best cut of beef to use?
A: Chuck steak is ideal as it becomes tender and flavorful with slow cooking. You could also use braising steak or stewing beef.
Q: Can I freeze this pie?
A: Yes, you can freeze either the filling alone or the entire assembled pie (before baking). When freezing the complete pie, wrap well in foil and freeze for up to 3 months. Bake straight from frozen, adding 15-20 minutes to the cooking time.
Q: Why did my pastry shrink during baking?
A: This usually happens when the pastry is stretched during rolling or placing in the tin. Always let the pastry relax and chill before baking.
Q: My filling seems too watery – what should I do?
A: If your filling is too liquid, simmer it uncovered for 10-15 minutes to reduce the sauce. You can also stir in a cornflour slurry (1 tablespoon cornflour mixed with 2 tablespoons cold water).
Variations to Try
Feel free to customize your pie with these delicious additions:
- Sautéed mushrooms
- Caramelized shallots
- Fresh herbs like rosemary or sage
- Root vegetables like parsnips or swede
- A splash of balsamic vinegar for depth
Remember, the key to a truly memorable steak pie lies in patience. Don’t rush the cooking process – let those flavors develop slowly and your reward will be a pie that’s absolutely worth the wait.
Whether you’re cooking for family or friends, this recipe is sure to impress. There’s something deeply satisfying about serving a homemade pie, especially one filled with tender, flavorful meat and wrapped in golden, flaky pastry. Give it a try this weekend – I guarantee it will become a regular in your cooking repertoire.