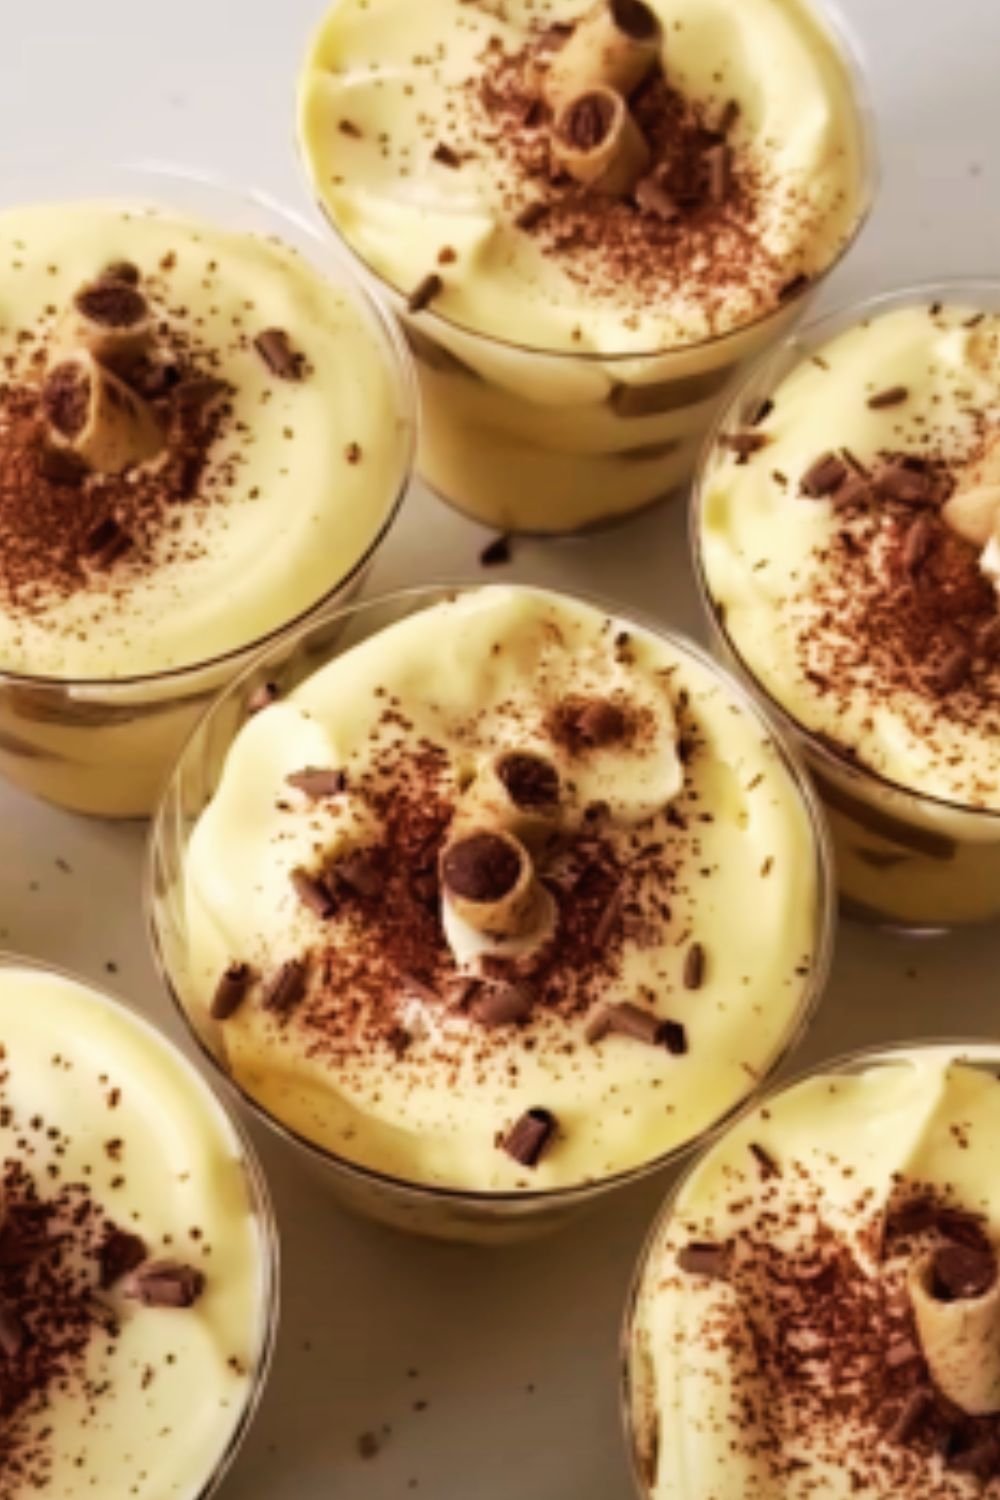
Have you ever craved the luxurious taste of tiramisu but didn’t want to make an entire tray? I’ve discovered the perfect solution: individual tiramisu servings that capture all the decadence of the classic Italian dessert in a perfectly portioned glass. Today, I’m sharing my foolproof recipe that brings restaurant-quality tiramisu right to your kitchen.
The Magic Behind Individual Tiramisu
The beauty of making individual tiramisu portions lies in their versatility and convenience. As someone who’s been perfecting this recipe for years, I can tell you that these single servings not only look stunning but also solve the common problem of having too much dessert leftover. Plus, they’re perfect for intimate dinner parties where presentation matters just as much as taste.
Essential Ingredients for One Serving
| Ingredient | Amount | Notes |
|---|---|---|
| Mascarpone cheese | 2 oz (60g) | Room temperature |
| Heavy cream | 1/4 cup (60ml) | Cold |
| Egg yolk | 1 medium | Fresh, room temperature |
| Granulated sugar | 2 tablespoons | Divided |
| Ladyfingers | 2-3 pieces | Fresh or packaged |
| Strong coffee | 1/4 cup (60ml) | Room temperature |
| Cocoa powder | 1 teaspoon | For dusting |
| Vanilla extract | 1/4 teaspoon | Pure |
Equipment Needed
| Item | Purpose | Recommendation |
|---|---|---|
| Serving glass | Presentation | 8-10 oz capacity |
| Small mixing bowls | Preparation | 2-3 bowls |
| Hand mixer | Whipping cream | Electric preferred |
| Sifter | Cocoa dusting | Small mesh |
| Measuring spoons | Precise portions | Standard set |
| Spatula | Folding mixture | Silicone preferred |
Step-by-Step Creation Process
1. Coffee Preparation
- Brew 1/4 cup of strong coffee (espresso preferred)
- Allow it to cool to room temperature
- Pour into a shallow dish for dipping
2. Mascarpone Mixture
- Beat egg yolk with 1 tablespoon sugar until pale (about 2 minutes)
- Gently fold in room temperature mascarpone
- Mix until just combined (avoid overbeating)
3. Cream Component
- Whip cold heavy cream with remaining sugar
- Add vanilla extract
- Beat until soft peaks form
4. Combining Components
- Gently fold whipped cream into mascarpone mixture
- Use figure-eight motions to maintain airiness
- Ensure no streaks remain
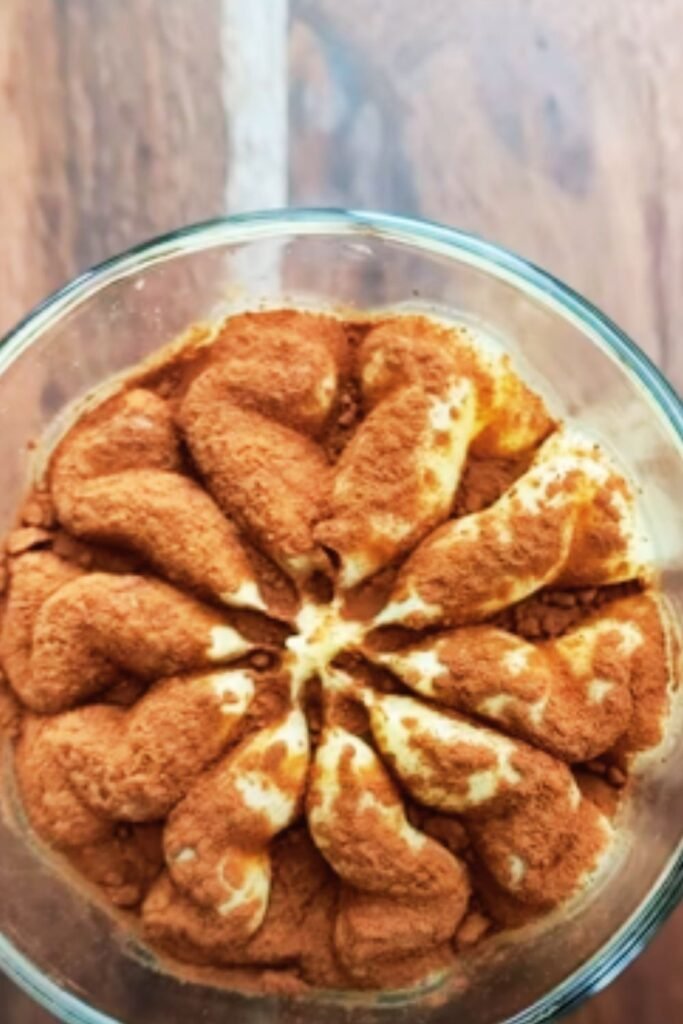
5. Assembly Process
| Layer | Component | Thickness |
|---|---|---|
| Base | Dipped ladyfinger | 1/2 inch |
| First | Cream mixture | 3/4 inch |
| Middle | Dipped ladyfinger | 1/2 inch |
| Top | Cream mixture | 1 inch |
| Garnish | Cocoa powder | Light dusting |
Professional Tips for Perfect Results
As someone who’s made countless individual tiramisus, here are my essential tips:
- Temperature Control
- Mascarpone must be perfectly room temperature
- Heavy cream should be cold
- Coffee should be room temperature
- Texture Management
- Quick-dip ladyfingers (1 second per side)
- Don’t overbeat mascarpone
- Fold gently to maintain airiness
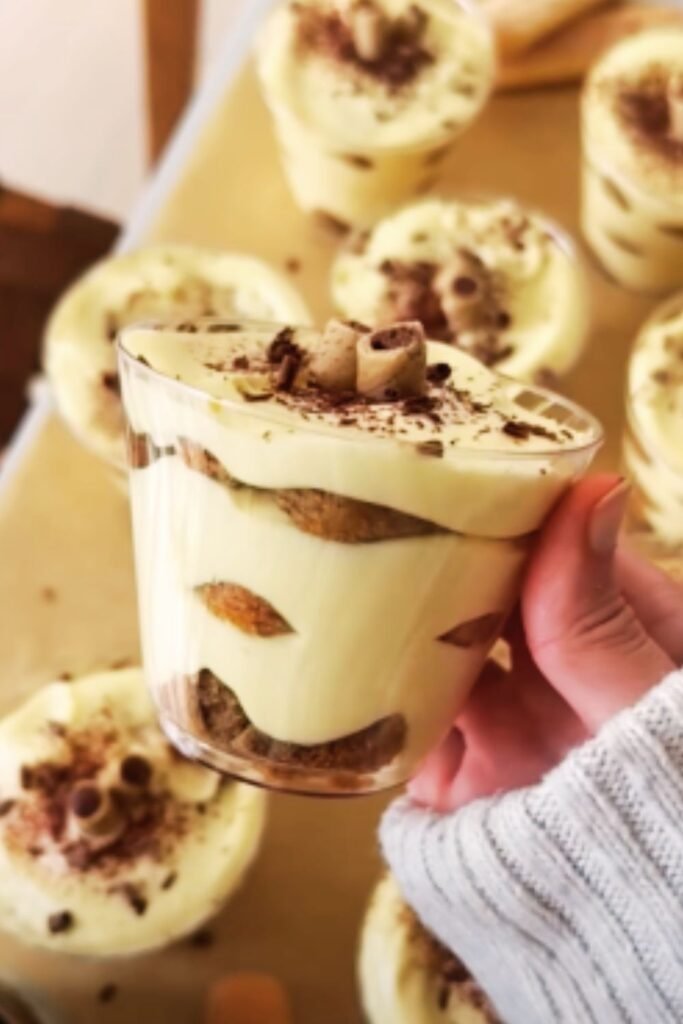
- Presentation Elements
- Use clear glasses to showcase layers
- Create clean, distinct layers
- Dust cocoa powder just before serving
Common Challenges and Solutions
| Challenge | Cause | Solution |
|---|---|---|
| Runny filling | Overbeaten cream | Whip to soft peaks only |
| Grainy texture | Cold mascarpone | Ensure room temperature |
| Soggy ladyfingers | Over-soaked | Quick 1-second dips |
| Bitter taste | Too much coffee | Light dipping, shake excess |
| Flat cream | Warm ingredients | Keep cream cold |
Make-Ahead and Storage
Storage Guidelines
| Storage Method | Duration | Notes |
|---|---|---|
| Refrigerator | Up to 2 days | Cover tightly |
| Freezer | Not recommended | Affects texture |
| Room temperature | 2 hours maximum | For serving only |
Serving Suggestions
- Pair with fresh berries
- Add a chocolate-covered coffee bean
- Serve with hot espresso on the side
- Garnish with fresh mint leaves
Nutritional Information (Per Serving)
| Nutrient | Amount |
|---|---|
| Calories | 385 |
| Total Fat | 28g |
| Saturated Fat | 17g |
| Cholesterol | 155mg |
| Carbohydrates | 28g |
| Protein | 6g |
| Sodium | 95mg |
| Sugar | 18g |
Variations for Dietary Needs
Gluten-Free Version
- Use gluten-free ladyfingers
- Verify mascarpone brand is gluten-free
- Check vanilla extract certification
Reduced Sugar Option
- Use sugar alternatives
- Reduce sugar in cream
- Choose unsweetened cocoa powder
Special Occasion Adaptations
| Occasion | Modification | Presentation |
|---|---|---|
| Valentine’s | Add raspberry layer | Heart cocoa stencil |
| Christmas | Peppermint extract | Crushed candy garnish |
| Summer | Lemon zest addition | Fresh berry topping |
| Birthday | Gold leaf accent | Chocolate curls |
Frequently Asked Questions
Q: Can I make this without raw egg?
A: Yes! Replace the egg yolk with 2 tablespoons of pasteurized egg product, or use 2 tablespoons of prepared custard as a substitute.
Q: How far in advance can I make individual tiramisu?
A: These can be made up to 24 hours in advance. Add the cocoa powder dusting just before serving.
Q: Why did my mascarpone curdle?
A: This usually happens when the mascarpone is too cold or overbeaten. Ensure room temperature cheese and mix just until combined.
Q: Can I use instant coffee?
A: Yes, but brew it stronger than usual (about 1.5 times normal strength) to achieve the proper flavor intensity.
Q: How do I prevent my layers from mixing?
A: Chill each layer for 10-15 minutes before adding the next, and use a gentle hand when adding new layers.
Troubleshooting Guide
| Issue | Prevention | Recovery |
|---|---|---|
| Runny cream | Keep tools cold | Chill longer |
| Bitter taste | Light coffee dipping | Add sugar to coffee |
| Uneven layers | Chill between layers | Use piping bag |
| Dense texture | Don’t overbeat | N/A |
| Coffee pools | Quick dipping | Drain excess |
Remember, creating the perfect individual tiramisu is about patience and attention to detail. With these guidelines, you’ll be crafting restaurant-worthy desserts that impress every time. Whether it’s for a romantic dinner or simply treating yourself, this recipe ensures a perfect portion of Italy’s beloved dessert.

