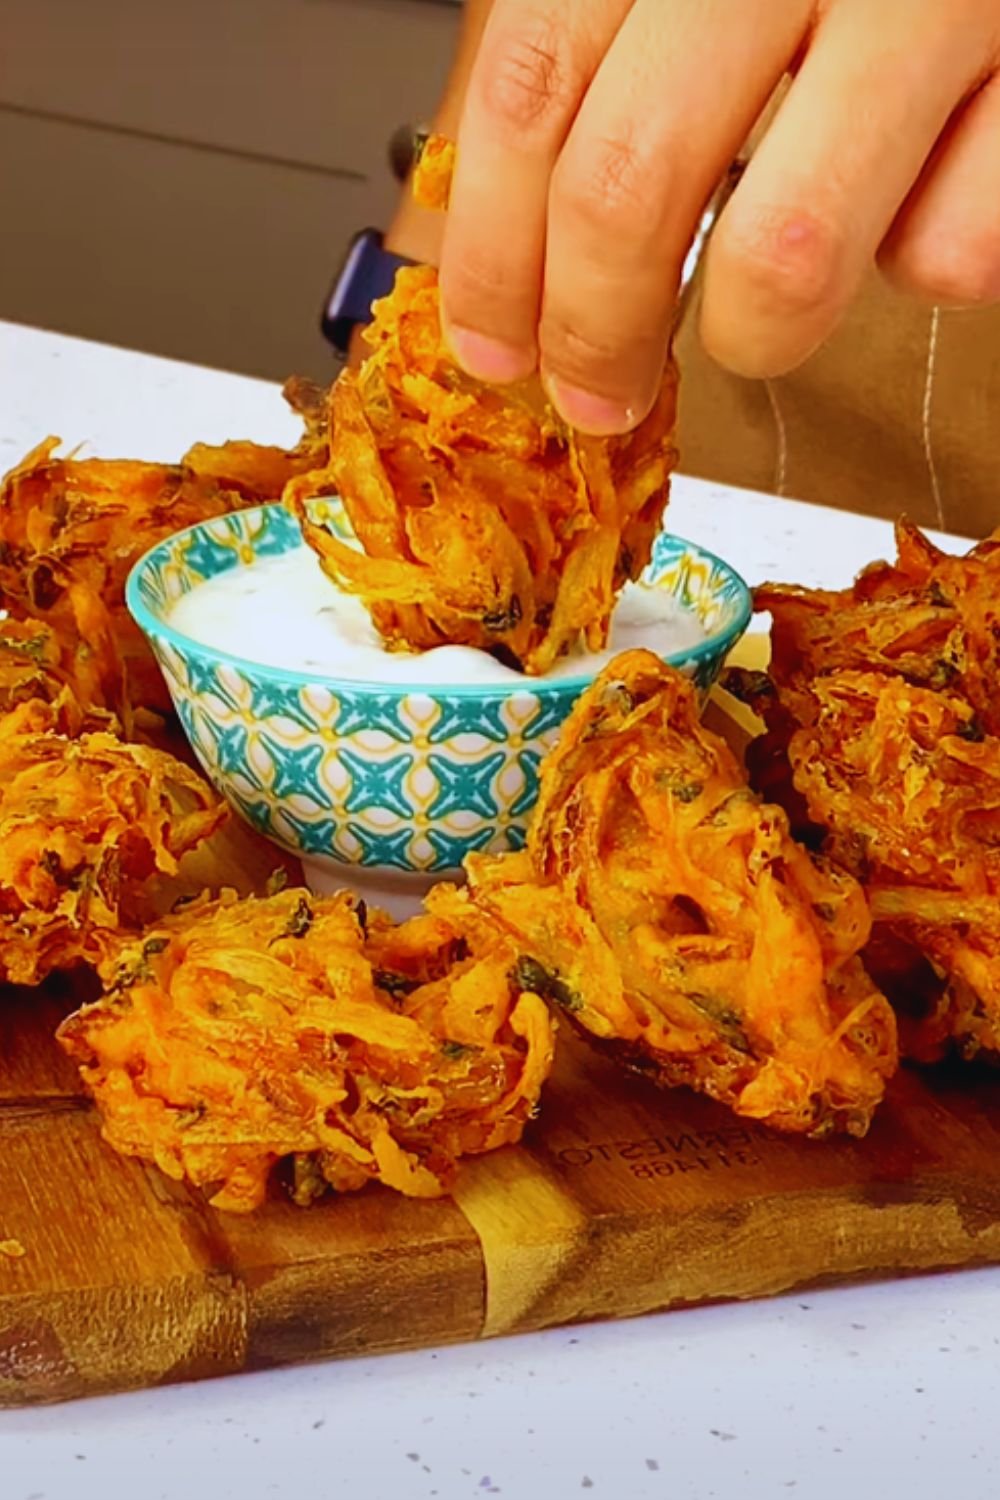
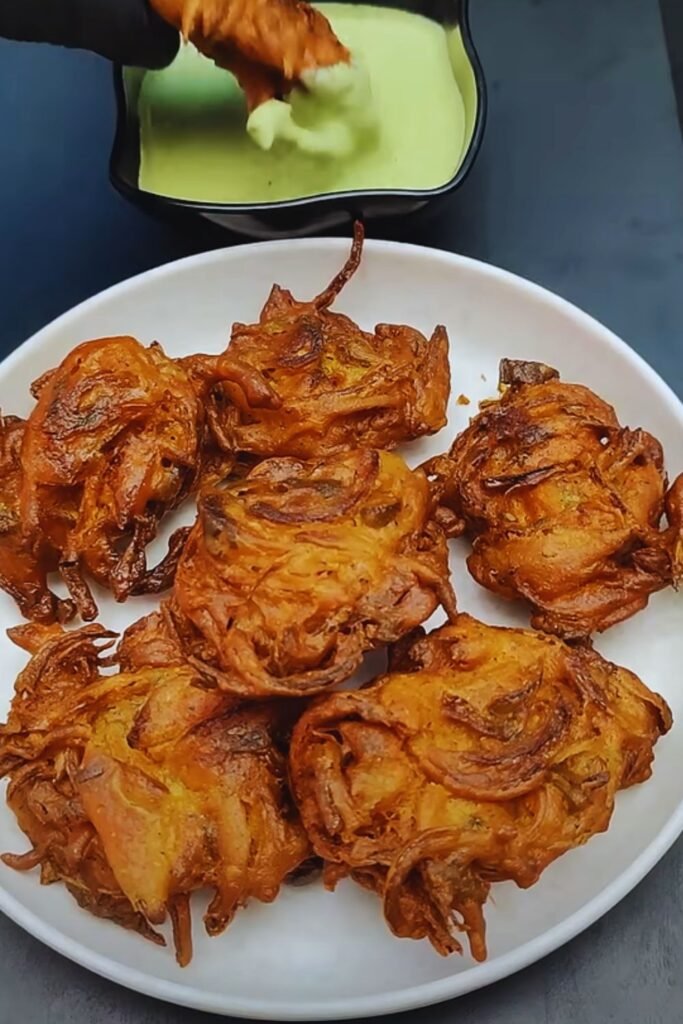
There’s something magical about biting into a perfectly crispy onion bhaji. As someone who’s spent years perfecting these Indian fritters, I can tell you that making restaurant-quality bhajis at home isn’t just possible – it’s surprisingly simple. Today, I’m sharing my foolproof recipe that transforms humble onions into crispy, aromatic delights that’ll have your guests thinking you ordered from their favorite Indian restaurant.
What Are Onion Bhajis?
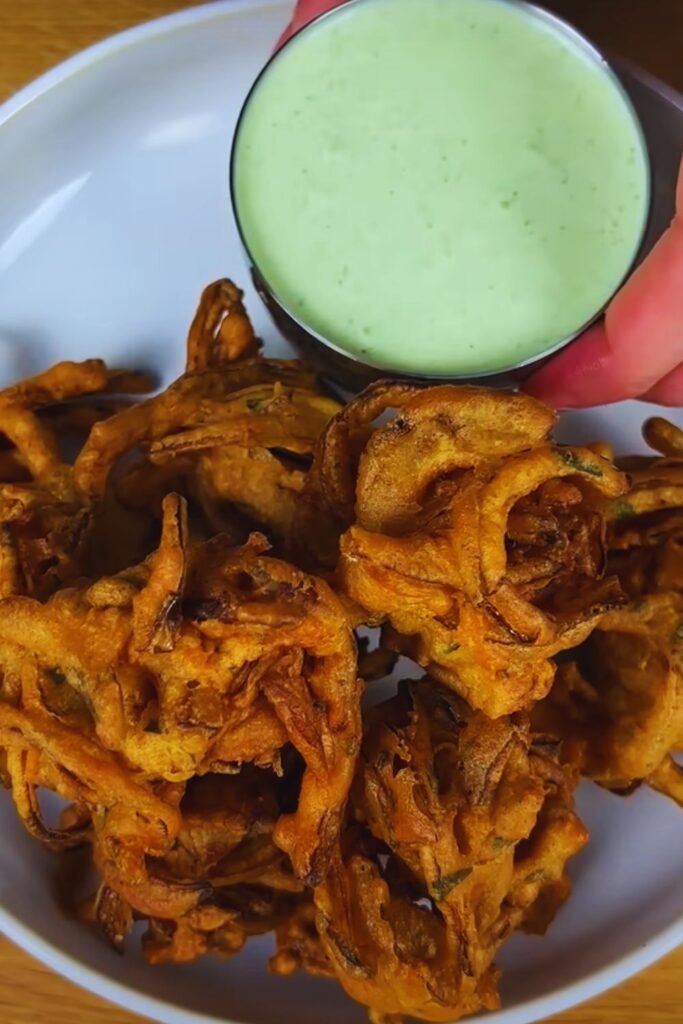
Before we dive into the recipe, let’s understand what makes these fritters special. Onion bhajis are crispy Indian fritters made with sliced onions, chickpea flour (besan), and aromatic spices. Unlike Western-style onion rings, bhajis embrace a more complex flavor profile and a distinctively irregular shape that creates multiple crispy edges.
Essential Ingredients
Here’s what you’ll need to make perfect onion bhajis (serves 6):
| Ingredient | Quantity | Notes |
|---|---|---|
| Large onions | 3 | Thinly sliced |
| Chickpea flour (besan) | 2 cups | Fresh and lump-free |
| Rice flour | 2 tablespoons | For extra crispiness |
| Cumin seeds | 1 teaspoon | Preferably freshly ground |
| Coriander powder | 1 teaspoon | |
| Red chili powder | 1 teaspoon | Adjust to taste |
| Turmeric powder | ½ teaspoon | |
| Ajwain seeds | ½ teaspoon | Optional but recommended |
| Salt | 1½ teaspoons | |
| Water | ~¾ cup | Adjust as needed |
| Oil | For deep frying | Use vegetable or sunflower oil |
| Fresh cilantro | ¼ cup | Finely chopped |
| Green chilies | 2 | Finely chopped (optional) |
Kitchen Equipment Needed
| Equipment | Purpose |
|---|---|
| Large mixing bowl | For mixing batter |
| Sharp knife | For slicing onions |
| Deep frying pan or kadai | For frying |
| Spider strainer or slotted spoon | For removing bhajis |
| Paper towels | For draining excess oil |
| Kitchen thermometer | For monitoring oil temperature |
Step-by-Step Instructions
1. Prepare the Onions
First things first, let’s tackle the onions. Here’s my tried-and-tested method:
- Peel and cut the onions in half
- Slice them thinly (about 2-3mm thick)
- Separate the layers
- Soak in cold water for 10 minutes (optional but helps reduce tears and strong smell)
- Drain and pat completely dry if you soaked them
2. Make the Batter
The batter is where the magic happens. Getting the right consistency is crucial:
- In a large bowl, combine chickpea flour, rice flour, and all spices
- Add water gradually while whisking
- Aim for a thick, coating consistency
- The batter should coat the back of a spoon but slowly drip off
- Add the chopped cilantro and green chilies
3. Combine and Fry
Now comes the fun part:
- Heat oil in your pan to 350°F (175°C)
- Add onions to the batter and mix well
- Drop small portions (about 2 tablespoons) into the hot oil
- Fry until golden brown (about 3-4 minutes per side)
- Drain on paper towels
Pro Tips for Perfect Bhajis
After years of making these, I’ve learned some crucial tips:
- Temperature Control
- Maintain oil temperature between 350-375°F
- Don’t overcrowd the pan
- Use a thermometer for consistent results
- Batter Consistency
- Should be thick enough to coat onions
- If too thick, add water 1 tablespoon at a time
- If too thin, add chickpea flour 1 tablespoon at a time
- Storage and Reheating
- Store in an airtight container for up to 2 days
- Reheat in a 350°F oven for 5-7 minutes
- Never microwave (they’ll become soggy)
Troubleshooting Common Issues
| Problem | Cause | Solution |
|---|---|---|
| Bhajis falling apart | Too wet batter | Add more chickpea flour |
| Not crispy enough | Oil not hot enough | Use thermometer to maintain temperature |
| Too dark outside, raw inside | Oil too hot | Reduce heat, make smaller portions |
| Greasy bhajis | Oil not hot enough | Increase temperature to 350°F |
| Batter not sticking | Wet onions | Pat onions completely dry |
Serving Suggestions
Onion bhajis are versatile and can be served in many ways:
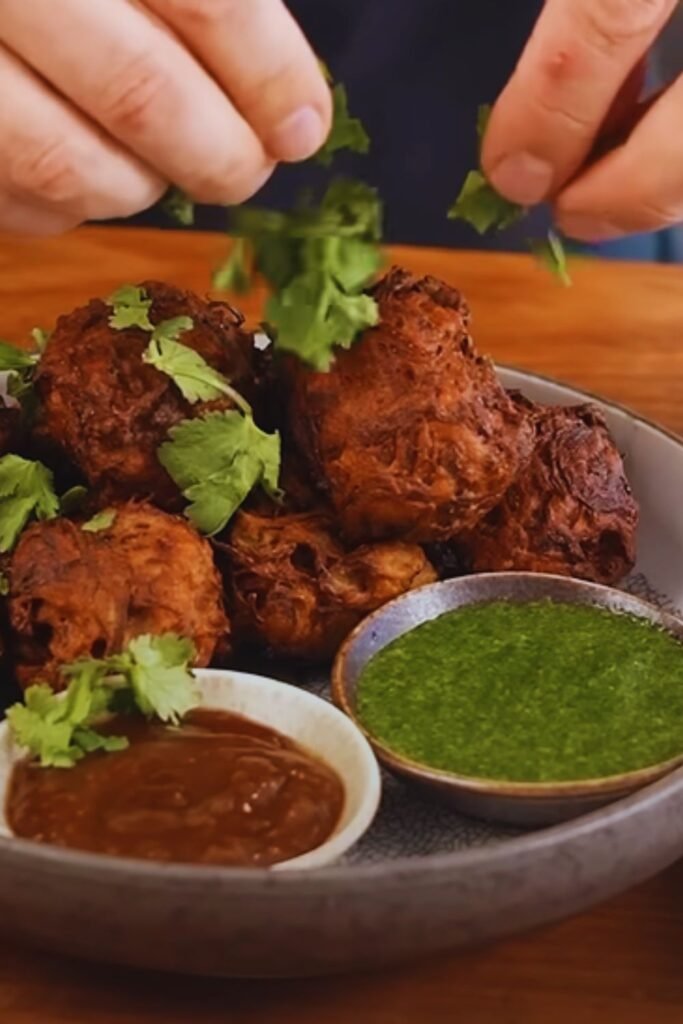
- As an appetizer with mint-coriander chutney
- Alongside a cup of masala chai for afternoon tea
- As part of an Indian meal
- In a wrap with salad and tamarind chutney
- As a rainy day snack with ketchup
Nutritional Information (Per Serving)
| Nutrient | Amount |
|---|---|
| Calories | 185 |
| Protein | 5g |
| Carbohydrates | 22g |
| Fiber | 3g |
| Fat | 9g |
| Sodium | 310mg |
Questions & Answers
Q: Can I make these ahead of time for a party?
Yes! You can make the batter up to 2 hours ahead and keep it covered at room temperature. For best results, fry them just before serving. If needed, you can fry them earlier and reheat in a 350°F oven for 5-7 minutes.
Q: Are onion bhajis gluten-free?
Yes, when made with pure chickpea flour and rice flour, onion bhajis are naturally gluten-free. However, always check your flour packaging for potential cross-contamination if you’re cooking for someone with celiac disease.
Q: Can I air fry these instead of deep frying?
While traditional bhajis are deep-fried, you can air fry them at 375°F for 12-15 minutes, turning halfway through. Note that the texture will be different from traditional deep-fried bhajis.
Q: Why did my bhajis turn out dense instead of light and crispy?
The most common cause is overmixing the batter or making it too thick. The batter should be loose enough to drop easily from a spoon but thick enough to coat the onions well.
Q: How do I know when the oil is at the right temperature without a thermometer?
Drop a small amount of batter into the oil. If it sizzles and rises to the surface gradually, the oil is ready. If it browns too quickly, the oil is too hot. If it sinks and doesn’t sizzle, the oil isn’t hot enough.
Recipe Variations
While traditional onion bhajis are fantastic, here are some variations I’ve experimented with:
- Spinach and Onion Bhajis
- Add 1 cup of finely chopped spinach to the batter
- Increase spices slightly to compensate for the extra vegetables
- Mixed Vegetable Bhajis
- Add finely julienned carrots and bell peppers
- Keep the ratio of vegetables to onions at 1:3
- Spicy Version
- Double the chili powder
- Add 1 teaspoon of garam masala
- Include 2 finely chopped green chilies
Remember, the key to perfect bhajis lies in practice and patience. Don’t be discouraged if your first batch isn’t restaurant-perfect – each time you make them, you’ll get better at judging the right batter consistency and frying temperature.